Sewing has come a long way over the centuries, evolving from a basic needle-and-thread craft to a hobby filled with advanced machines, smart tools, and digital patterns. But in this wave of modern convenience, many of the clever techniques used by past generations have been quietly forgotten.
Some of those “old-school” methods, however, are making a comeback—and for good reason. They’re simple, effective, and often solve frustrating problems that today’s gadgets can’t.
One small, often-overlooked detail in the sewing world has sparked curiosity: that tiny hole at the end of a safety pin. While it may seem like a meaningless design feature, it actually has a very useful purpose—and it’s just one of many tricks worth bringing back into your routine.
The Surprising Use for That Tiny Hole in a Safety Pin
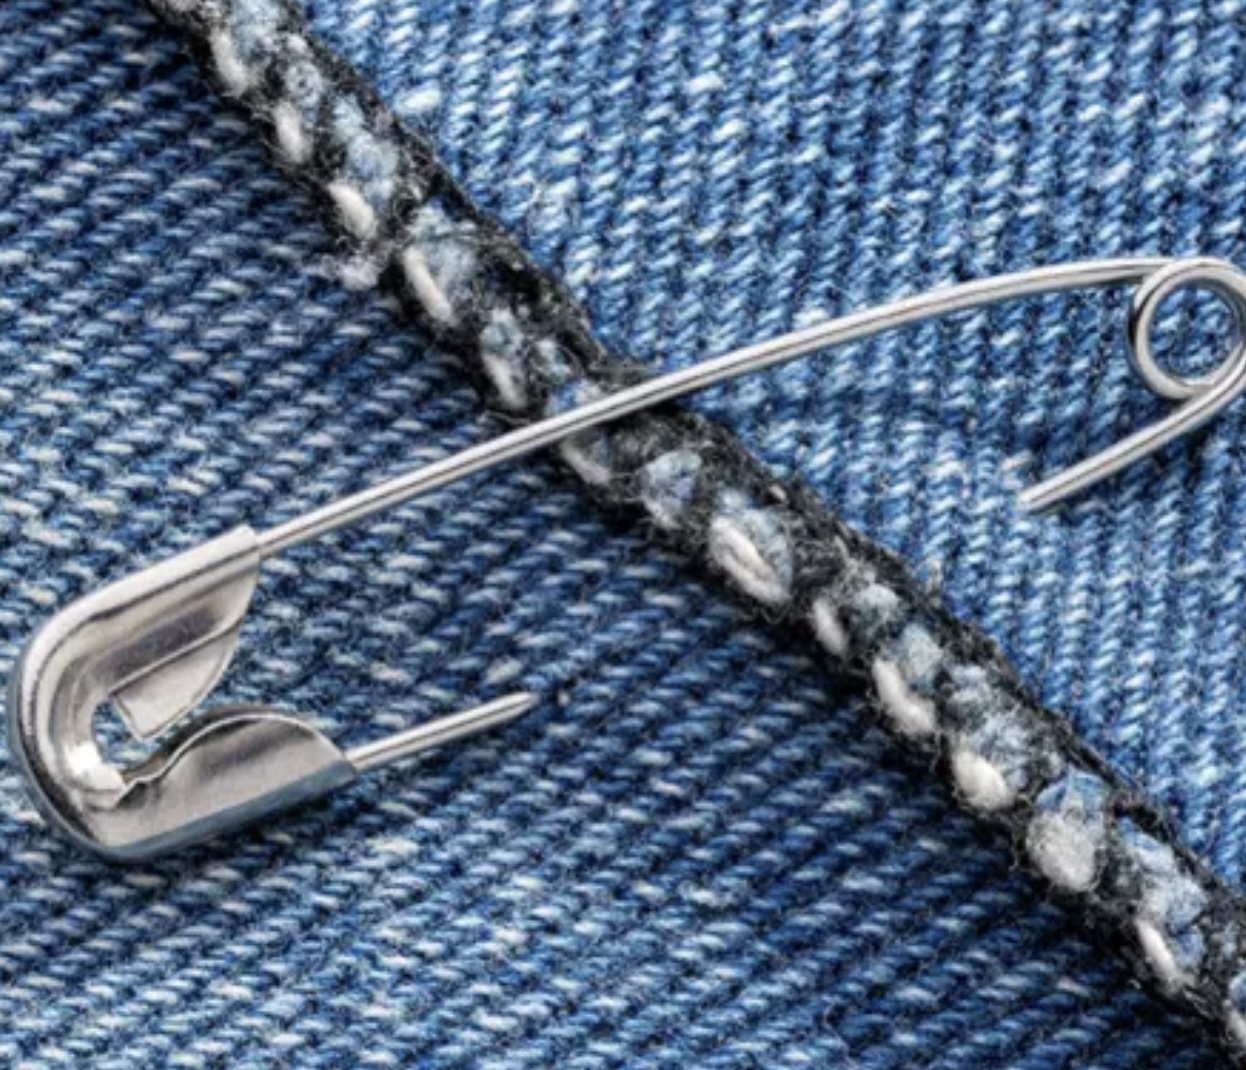
Take a closer look at the pointy end of a traditional safety pin, and you’ll notice a small hole. It’s not just decorative—it’s functional.
You can thread a thin cord, string, or narrow ribbon through that hole to help guide elastic through a casing, such as the waistband of pants or a drawstring bag. This trick provides more control and keeps the safety pin from getting lost inside the fabric tunnel—something every sewist knows can be a real headache.
Simple, right? But incredibly effective. It’s one of those tiny details that can make a big difference.
5 Time-Tested Sewing Tips You Should Bring Back
Here are more classic sewing techniques worth rediscovering:
1. Beeswax for Smoother Stitching
Long before fabric conditioners or pre-treated threads existed, sewists used beeswax. By pulling your thread gently across a small block of beeswax before sewing, you’ll coat the thread in a protective layer. This not only helps prevent tangling and fraying but also strengthens each stitch. Your sewing will be smoother and your seams, more durable.
2. Use Dry Soap to Mark Fabric
No tailor’s chalk? No problem. A small sliver of dry soap makes an excellent fabric marker. It creates clear, temporary lines that wash out easily—perfect for marking seams, darts, or button placements without risking stains. It’s a smart, budget-friendly solution that works on most fabrics.
3. Reinforce Seams with the Backstitch Method
Want to prevent seams from unraveling after multiple washes? Try the backstitch technique. At the beginning and end of each seam, sew a few stitches forward, then reverse over the same spot. This locks the thread in place, adding strength and durability to your work—especially in areas that get tugged or stretched.
4. Pin at an Angle for Better Hold
Instead of pinning perpendicular to your seam, try inserting pins diagonally. This simple adjustment provides better grip on slippery or stretchy fabrics and keeps the material from shifting while you sew. As a bonus, angled pins are easier to remove mid-stitch, keeping your sewing line uninterrupted.
5. Make Perfect Knots Every Time
One traditional trick for strong, neat knots is to wrap the thread around your needle several times before pulling it through. This forms a small, compact knot that won’t unravel over time. It’s especially helpful when starting or finishing a stitch in places that see frequent movement, like cuffs or hemlines.
Bringing Timeless Tricks Into the Modern Sewing Room
Whether you’re brand-new to sewing or an experienced stitcher, tapping into the knowledge of previous generations can elevate your craft. These methods may seem simple, but they were developed through years of trial and error—and they work.
So next time you reach for your sewing machine or sit down with a needle and thread, consider trying one of these classic techniques. You might find that your work becomes neater, faster, and far less frustrating.
And that little hole in your safety pin? It just might become your new favorite sewing tool.